titanium tea
Banned
- Jan 23, 2016
- 1,663
- 940
No I was just making jokes about the fact that I rarely see a midsole removed these days without someone trying to sell me shoe trees , plastic film, canned handsoap and branded nail brushes.

Follow along with the video below to see how to install our site as a web app on your home screen.
Note: This feature may not be available in some browsers.
This is true.No I was just making jokes about the fact that I rarely see a midsole removed these days without someone trying to sell me shoe trees , plastic film, canned handsoap and branded nail brushes.
Bruh...I cant believe what you have accomplished already without once trying to sell me useless Reshoven8tor products......
You're already my fav restorer because of that...
Popcorn is out for the completion of this swap.
thanks friend. just a regular dude and his silly sneaker obsession progression.
No I was just making jokes about the fact that I rarely see a midsole removed these days without someone trying to sell me shoe trees , plastic film, canned handsoap and branded nail brushes.

Lookin good famthanks friend. just a regular dude and his silly sneaker obsession progression.")
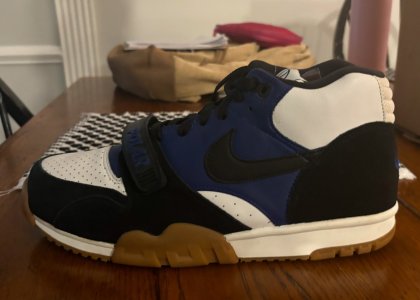
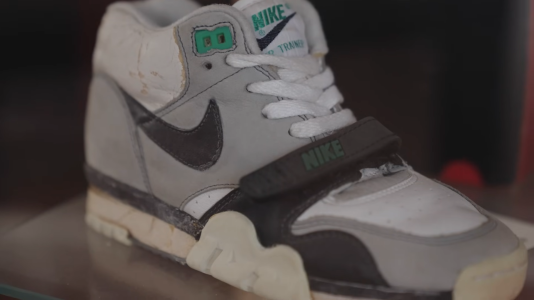
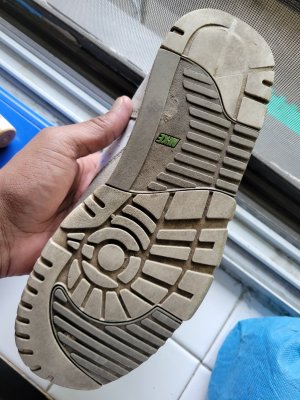
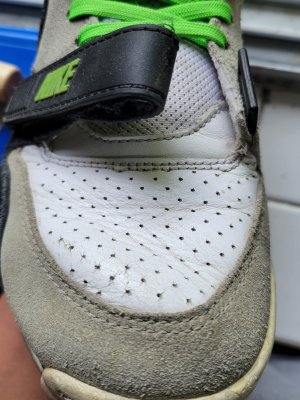
update: midsole to upper is glued with [adequate] success. here im gluing outsole to midsole. experienced dudes do it all at once, but i wanted to break it down so i could have more control over the seal points (or the seal points i need to take care of eventually.) ive left the outtriggers unglued because they need a diagonal lateral force to keep tight, so that will be part of the clean up process with any loose strings in seals. inside i have a toebox sneaker shield, an ikea shoe tree and stuffed paper, as to blunt the crush of the tied laces.
there is def a learning curve to this, and i semi regret attempting my first one with a high profile sneaker, but c'est la vie. "if it doesnt scare you, its not worth doing. - robert california.
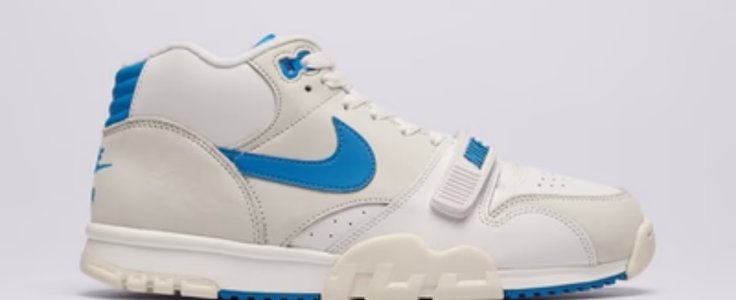
i thought that a trainer would be easier than a runner because of the toe cap and how its already stitched as well as its relative position to the toebox. a runner will be difficult in how the outsole wraps up towards the front, but the rest will be pretty straight forward. im still several steps out before this at1 is complete but will keep y'all posted.
He did, With a Sneaker Shield and also stuffed with paper too.Maybe sticking a shoetree in to keep the shape of the toebox?
")
My bad, I missed that.He did, With a Sneaker Shield and also stuffed with paper too.
Lol, figured that. They're lookin good so far. Cool to see the progressionMy bad, I missed that.
Skimmed over it too quickly.
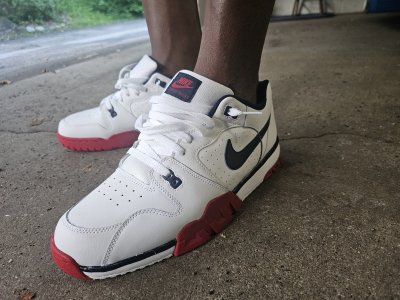
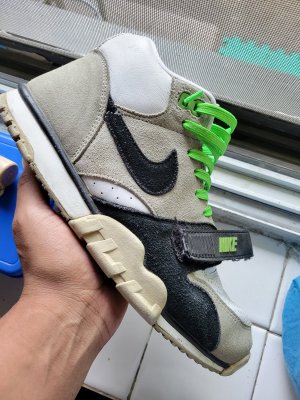
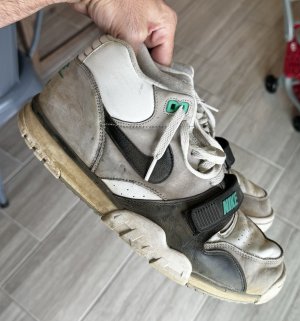
It is a W fam. You did great for your first one. You've given them new life for sure. Well done [emoji]128074[/emoji]almost there. this was my first one, so it has a real amateur feel to it. still need to clean up around the seams, but im proud of myself for getting this far. as far as im concerned this is a W because they were just sitting in a box with them crumbling.
almost there. this was my first one, so it has a real amateur feel to it. still need to clean up around the seams, but im proud of myself for getting this far. as far as im concerned this is a W because they were just sitting in a box with them crumbling.
What size are you?Damn, I wish I bought those when I had the chance.
10.5US!What size are you?
I saw a DS 2012 release for $200 US? A bit pricey though. Sure you can do better10.5US!
Yeah, that's too big and too $$$ for me. I can wait it out and hope for yet another retro. Thanks fam.
Agreed, that's why I told him I'm sure he can do better. It was just a heads up. I'd agree with $120Way too high. A lot of sellers have started trying to push $160+ but, like homie said earlier, they're not that price. Prices are inching up so $120 is a rough average right now but you can still catch a pair for under $100.